How to Build a GoFaster Engine
Workbench order that actually starts on the first kick.
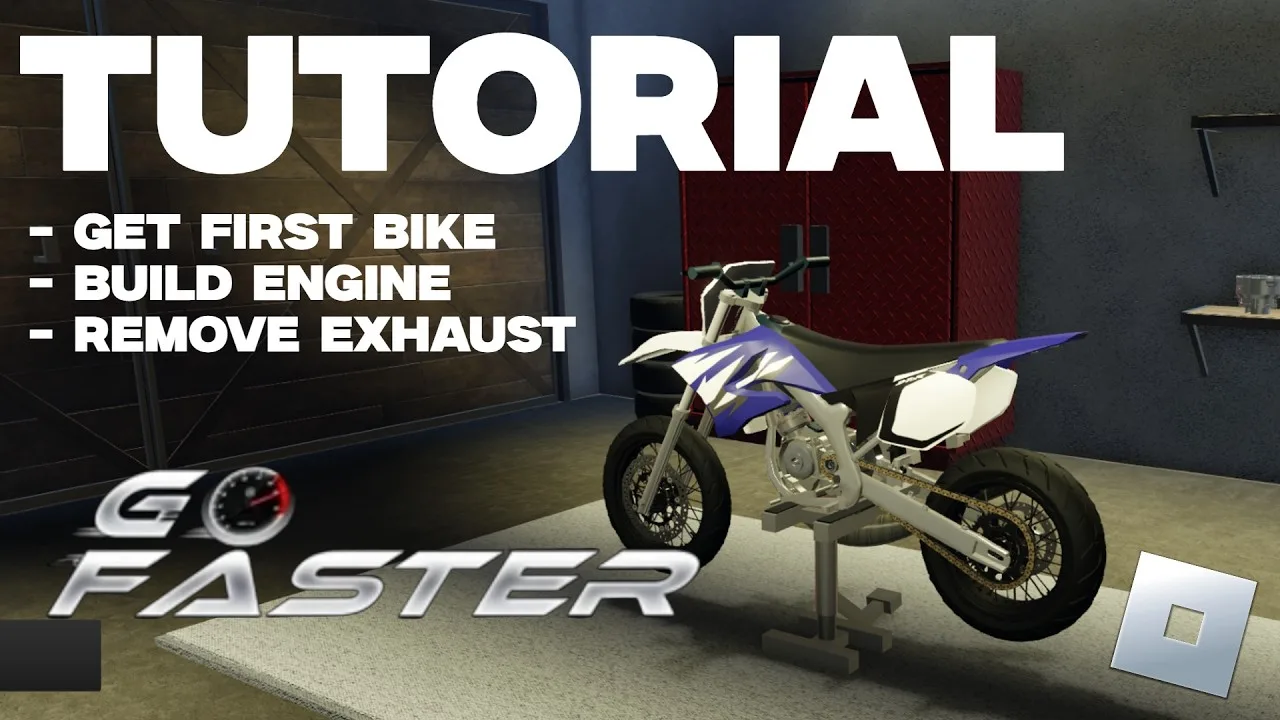
Building an engine is the core fantasy of GoFaster. Parts must be placed, dragged, and snapped in a sensible order. This guide expands the beginner overview into a full assembly walkthrough for Version 0.3 [BETA].
Tools you need in-game
- A bike frame (used lot is fine)
- Access to the customization workbench table
- Engine parts in inventory: cases, transmission, crank, ignition, piston, rings, head, valve cover, intake, optional reed valves
- Patience with camera scroll aiming
Printable-style checklist: Engine build order tool.
Step-by-step assembly
1. First case
Place the primary case on the bench. This is your alignment anchor. If the case floats oddly, reset the piece and place again before adding more parts.
2. Transmission
Pull the transmission from inventory, place it, then drag until it seats into the case. Partial overlaps will look okay from one angle and fail from another — orbit with scroll.
3. Crank
Place the crank and drag it into the engine. Take your time; crank mistakes cascade into piston problems.
4. Second case
Add the second case and drag to close the block. Move the camera around the seam until it snaps.
5. Ignition
Mount the ignition on the updated 0.3 bosses. The remastered ignition system is picky about orientation.
6. Piston and rings
Seat the piston, then slide rings into place. Skipping rings invites early durability loss once temperature enters the chat.
7. Cylinder head and valve cover
Install the head, then the valve cover. Confirm both are fully seated before intake work.
8. Intake and reed valves
Finish intake pieces. If you own reed valves, install them here — they are a major 0.3 upgrade path.
9. Exhaust (after the long block lives)
Exhaust is easier once the engine exists. Follow Customize Bike for angle-perfect attach and detach.
Kickstart procedure
- Leave the bench cleanly.
- Use the animated kickstart (sound confirms engagement).
- Watch the speedometer cluster for temperature and basic readouts.
- Blip throttle lightly; listen for the deeper 2T sound layer added in 0.3.
- If it stalls, check ignition seating before buying random new parts.
Swap workflow (broken → better mill)
Community clips often show removing a broken mill and installing an 86-style or AM6 stack:
- Detach exhaust and intake as needed.
- Strip the old long block in reverse order.
- Inventory the reusable bolts-on parts.
- Build the new engine with the same forward order.
- Retune exhaust tip choice to the new family.
Compare targets on the engines tier list before spending.
Quality checks before you ride out
- No floating ghost parts
- Kickstart animation plays fully
- Temperature starts in a safe zone
- No constant scrape audio at idle on flat ground
- Speedometer functions respond
Troubleshooting common build failures
| Symptom | Likely cause | Fix |
|---|---|---|
| Case floats above the bench | Bad first placement | Delete/reset the case, place flat, then continue |
| Crank looks seated but kick fails | Partial snap from one camera angle | Scroll around the seam and re-drag |
| Kickstart silent | Ignition off the 0.3 bosses | Remount ignition before buying a new mill |
| Instant heat spike | Missing rings or abused salvage piston | Install rings; refresh worn reciprocating parts |
| Scrape at idle on flat ground | Exhaust tip collision | Re-angle pipe using Customize Bike |
Spend one extra minute on camera scroll drills from Controls before blaming the part pack. Most “broken” engines are alignment problems, not missing AM6 magic.
First-session build plan (30 minutes)
- Buy a used frame with leftover cash for cases and ignition.
- Assemble through valve cover without reeds.
- Confirm kickstart animation and sound once.
- Add reeds only if cash remains after a proof ride.
- Log which family you want next on the engines tier list.
Related pages
Frequently Asked Questions
Quick answers for GoFaster riders and builders.
My parts will not snap. What now?
Orbit with scroll, drag slowly, and place from a different angle. Reset the piece if it ghost-clips.
Do I need reed valves on the first engine?
No. Build a stock runner first, then add reeds when cash allows.
Can I customize without owning a bike?
Version 0.3 added a customize button that works without ownership for previewing — still buy a frame before serious builds.
Should I strip a broken mill or buy new?
Strip reusable bolt-ons first, then rebuild on a clean long-block order. Buying a full stack while salvage parts sit unused wastes starter cash.