GoFaster Engine Build Order Checklist
Follow this sequence on the GoFaster workbench.
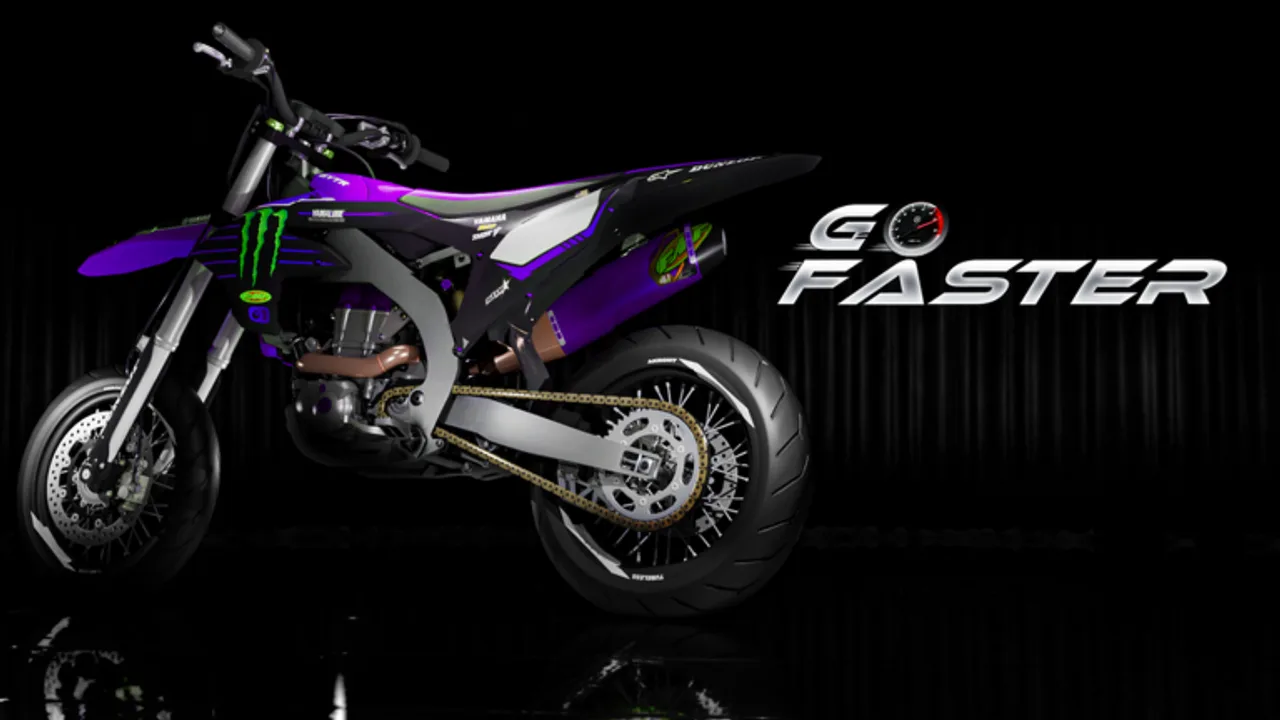
Use this checklist while the workbench is open. It mirrors the assembly order taught in community tutorials and expanded in the Build Engine guide.
Pre-flight
- Playing on official place
138075872498625 - Used or owned frame ready
- Customize / workbench table opened
- Camera scroll feels comfortable (Controls)
- Enough cash reserved for missing critical parts (Make Money)
Long-block sequence
- Place first case
- Place transmission → drag to snap
- Place crank → drag to seat
- Place second case → close the block
- Mount ignition (0.3 remaster orientation)
- Install piston
- Install piston rings
- Install cylinder head
- Install valve cover
- Install intake pieces
- Install reed valves if owned
Exhaust and finishing
- Select exhaust / tip from inventory
- Align angle to manifold
- Snap from workbench flow (Customize Bike)
- Confirm no constant scrape at idle on flat ground
Kickstart verification
- Kickstart animation plays
- Kickstart sound plays
- Speedometer functions respond
- Temperature starts in a safe band
- Light throttle blip without immediate stall
Upgrade gates
Only buy the next expensive part if the boxes above are green:
| Next purchase | Open this page |
|---|---|
| Better engine family | Engines tier list |
| Better pipe / tip | Parts tier list |
| Deco kit | Codes |
Failure quick fixes
| Symptom | Check step |
|---|---|
| Will not snap | Camera scroll + drag, steps 2–4 |
| No kick | Ignition step 5 |
| Overheat instantly | Riding habits + durability, not more cosmetics |
| Exhaust falls off | Steps 12–14 |
Timed practice drills
Use the checklist as a stopwatch workout, not only a shopping list:
- Cold assemble (10 min) — first case through valve cover on a used frame without reeds.
- Ignition focus (5 min) — remove and remount ignition until kickstart sound is consistent.
- Reed install (5 min) — add reed valves after intake pieces; note any snap fight.
- Exhaust loop (5 min) — detach/reattach using Customize Bike angle rules.
- Heat lap (5 min) — short lot loop watching speedometer temperature functions.
If any drill fails, stop buying parts. Fix the failing step, then resume. The checklist exists to prevent OIX Market panic purchases mid-build.
AM6 and family-specific notes
Inline-2 AM6 packs still obey case → transmission → crank → second case logic. Do not invent a celebrity order from a mute TikTok. When textures look unfinished, expect more frequent durability checks, not a different snap sequence. Cross-check prestige targets on the engines tier list and bolt-ons on the parts list.
Printable mindset (no download required)
Keep this page open on a phone. Check a box mentally after each snap. Players who skip rings “just to see” usually pay twice: once in heat damage, again in replacement rings. Treat every unchecked line as a future repair bill.
When to restart the whole long block
Restart if two or more of these are true: ghost-floating cases, silent kickstart after two ignition reseats, scrape audio at idle on flat ground, or temperature pegged after a light blip. Partial frankenstein fixes waste more cash than a clean rebuild following steps 1–11.
Related pages
Frequently Asked Questions
Quick answers for GoFaster riders and builders.
Can I skip rings on a test build?
You can, but durability and sealing suffer. Install rings before serious rides.
Where do reed valves go in the order?
After intake pieces, before you call the engine finished.
Is this checklist for AM6 packs too?
Yes. Family-specific parts still follow the same case-to-intake logic.
Can I rearrange the checklist for speed?
Not safely. Crank before the block is closed, or reeds before intake, creates the snap failures this tool prevents.
What if OIX Market is missing a listed part?
Finish every step you can, ride a proof loop, then revisit the market. Do not substitute random junk just to tick a box.